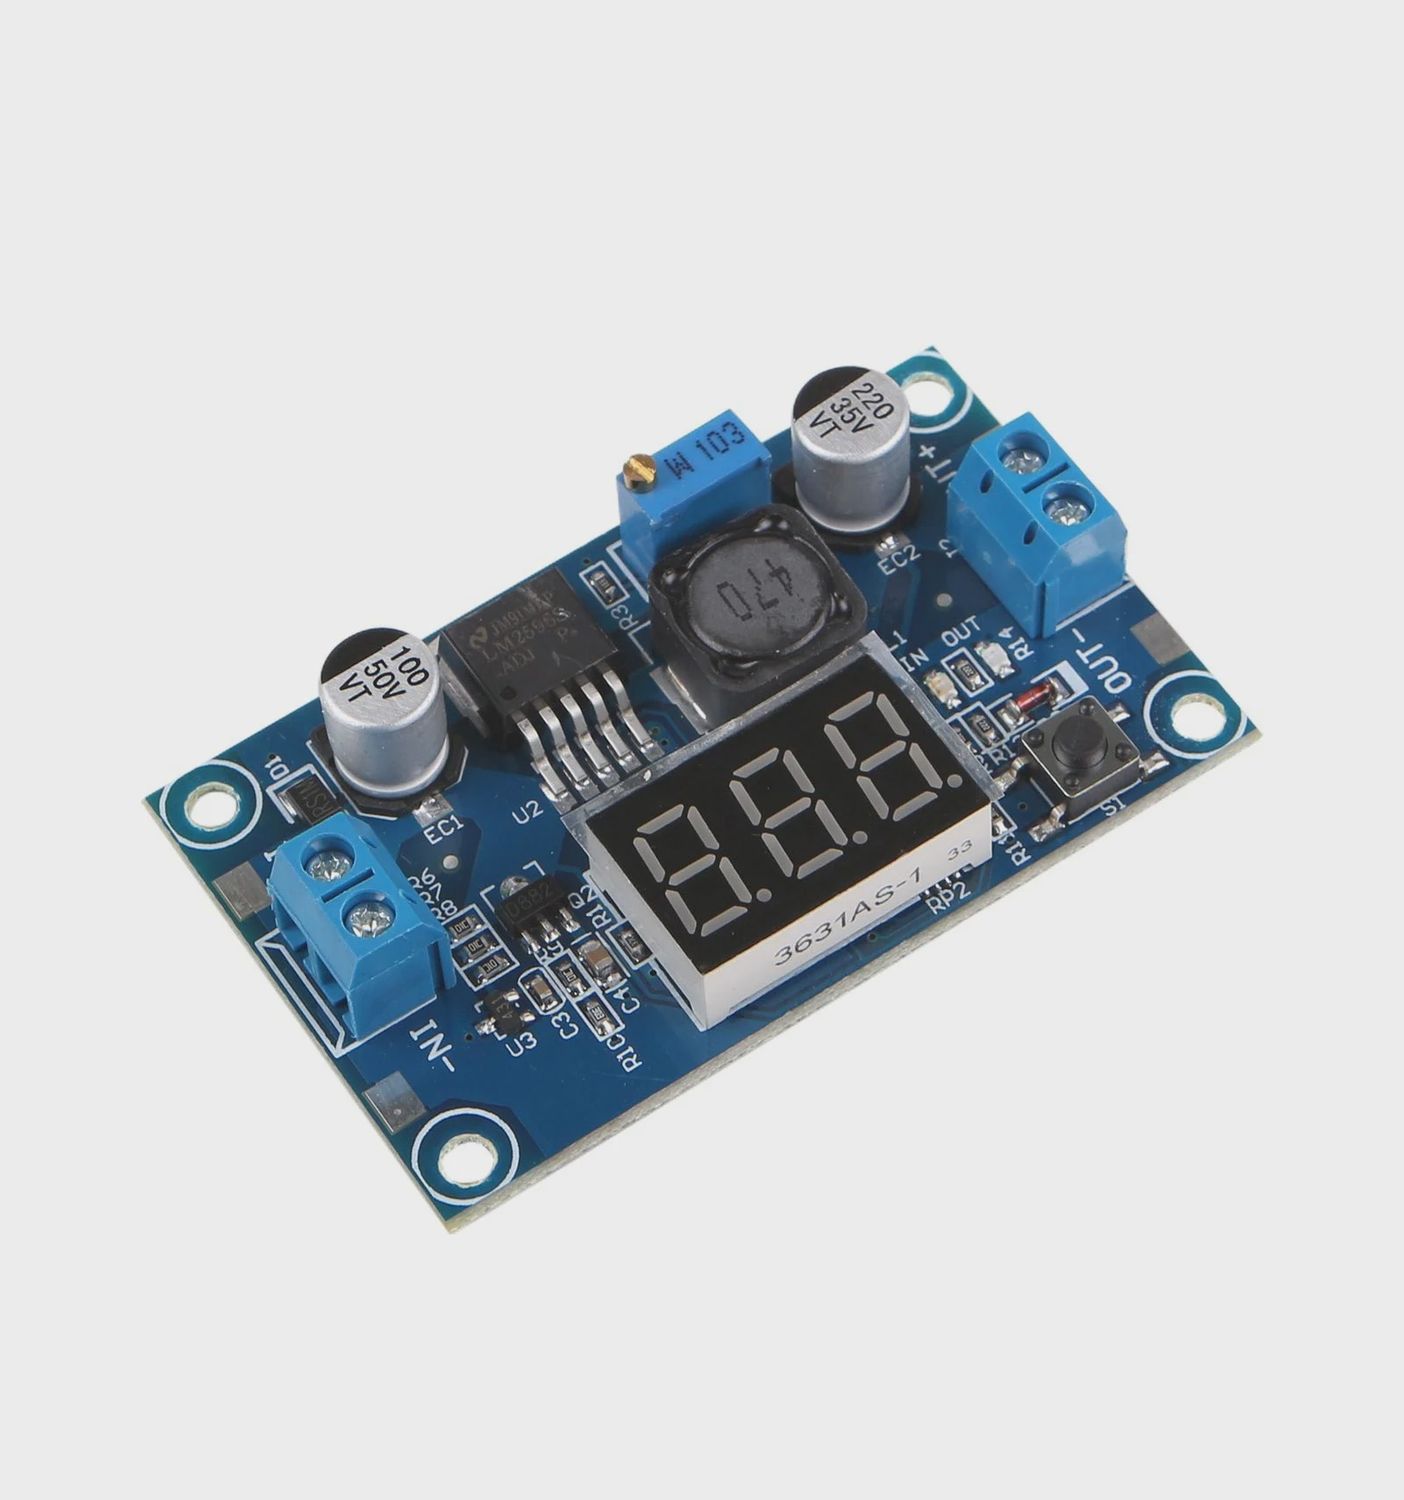
LM2596 DC 4.5/40V to 1.5/37V Adjustable Step Down Buck Module with Display
LM2596 20W Step-Down Buck Module - Technical Specifications: |
|
|
– DFRobot |
|
– 4.5V to 40V DC |
|
– 1.5V to 37V DC |
|
– 1.5V – Input must be 1.5V HIGHER than Output |
|
– 2A Constant | 3A Peak |
|
– 15W |
|
– 20W |
|
– Reverse Polarity | Overheating | Short Circuit |
|
– 3-Digit 7-Segment Display |
|
– ±85% @ ≤2A Load – 73% @ 3A Load |
|
– 150kHz |
|
– -40° to +120°C |
|
– 22g |
|
– 66 x 36 x 12mm |
Handy Tips for Using the LM2596 20W Step-Down Buck Module:
1: The onboard button can be used to switch between displaying input and output voltage. A single short press will switch between these.
2: The onboard display can be turned off if necessary by pressing and holding the button down for two seconds before releasing. After this, the display can be turned back on with a single short press of the button.
3: Although this module is capable of up to 3A and 20W, if you are using it for more than 2A or 15W then you will need to equip it with a heatsink to keep the regulator chip cool.
4: This module can be calibrated, and it’s recommended to calibrate it with a constant voltage supply and a multimeter when first acquiring it.
4.1: To enter calibration mode, press and hold the button down for four seconds before releasing it. This will take you to INPUT calibration mode, and the “IN” LED will turn on.
4.2: From the INPUT calibration mode, once again press and hold the button down for four seconds before releasing. This will take you to OUTPUT calibration mode, and the “OUT” LED will turn on.
4.3: In either of these calibration modes, a single short press is used to adjust the settings.
4.4: Once you are done calibrating INPUT and OUTPUT, press and hold the button for four seconds before

